KARAKA BERRY JAM (MAKING THE MOST OF FROZEN BERRIES)
I realise it seems a little odd to be making jam, well jam with berries that is, in winter. To be honest one of my son's loves a jam sandwich and my stocks of homemade plum and blackcurrant jam are running dangerously low. At the farmers market you can still get a great selection of frozen berries ranging from raspberries, blackcurrants, karaka (cross between boysenberry and blackberry), gooseberries to name just a few and don't be concerned that the quality is anything but of the highest standard. Donald from Butlers Berries supplied me with a huge bag of Karaka Berries if like me you aren't quite sure what exactly they are, well apparently they are a cross between a boysenberry and blackberry. To look at they are of the deepest, darkest purple and what strikes you is the sheer size of them; they are huge, about the size of your finger. They have a wonderful fruity aroma and will mingle well with good quality dark chocolate or baked with a crumble or cobbler topping. I have turned these berries today into a magical jam which i am not only to smear generously over hot buttered toast i will use it to spice up a frangipane tart or dolloped onto chocolate muffins, or even better submerged in the midst of a hot chocolate fondant. I will leave the rest up to your imagination.

KARAKA BERRY JAM - WINTER JAM
makes 6-8 jars 300g
1.5kg karaka berries (i used frozen)
1.5kg sugar
Large heavy-based pot with deep sides.
6-8 clean and sterilised jars with lids/seal
METHOD
When using fresh berries, remove the hull (leaves and stalk) from the berry. If frozen you can use as is or defrost retaining all juices.
Gently heat the berries for about 20 -30 minutes or until the juices start to seep out and the berries soften and breakdown a little.
Add the sugar and stir and heat on a gentle heat until the sugar dissolves about 5-10 minutes. When this stage is reached turn up the heat and fast boil until the jam thickens to the point of setting.
To test for setting i use the old method my mother passed on to me. It is simple to do and needs no fancy equipment and best of all it works every time! Put a spoon of jam onto a saucer and let cool. Then run your finger through the middle if it doesn't run back into the middle then it is ready to bottle.
Important tips for bottling - i always let the jam sit for five minutes or so (this allows the berries to settle). I wash my jars in hot soapy water and drain upside down on the oven rack in a very low (50C) heated oven until required. Do not be tempted to handle the jars or wipe the inside out with a cloth as you want to keep them sterilised. I also cover the lids (if using) in a small pot and heat gently until required. Pour the jam using a jug and wipe the rim with a clean cloth. Always label, date and store away from direct sunlight.
For more information on preserving refer to my SUMMER-AUTUMN BOOK (available from the farmers market).
Once the jam has cooled for 5 minutes i then carefully pour the warm jam into the sterilised jars, seal well and label.
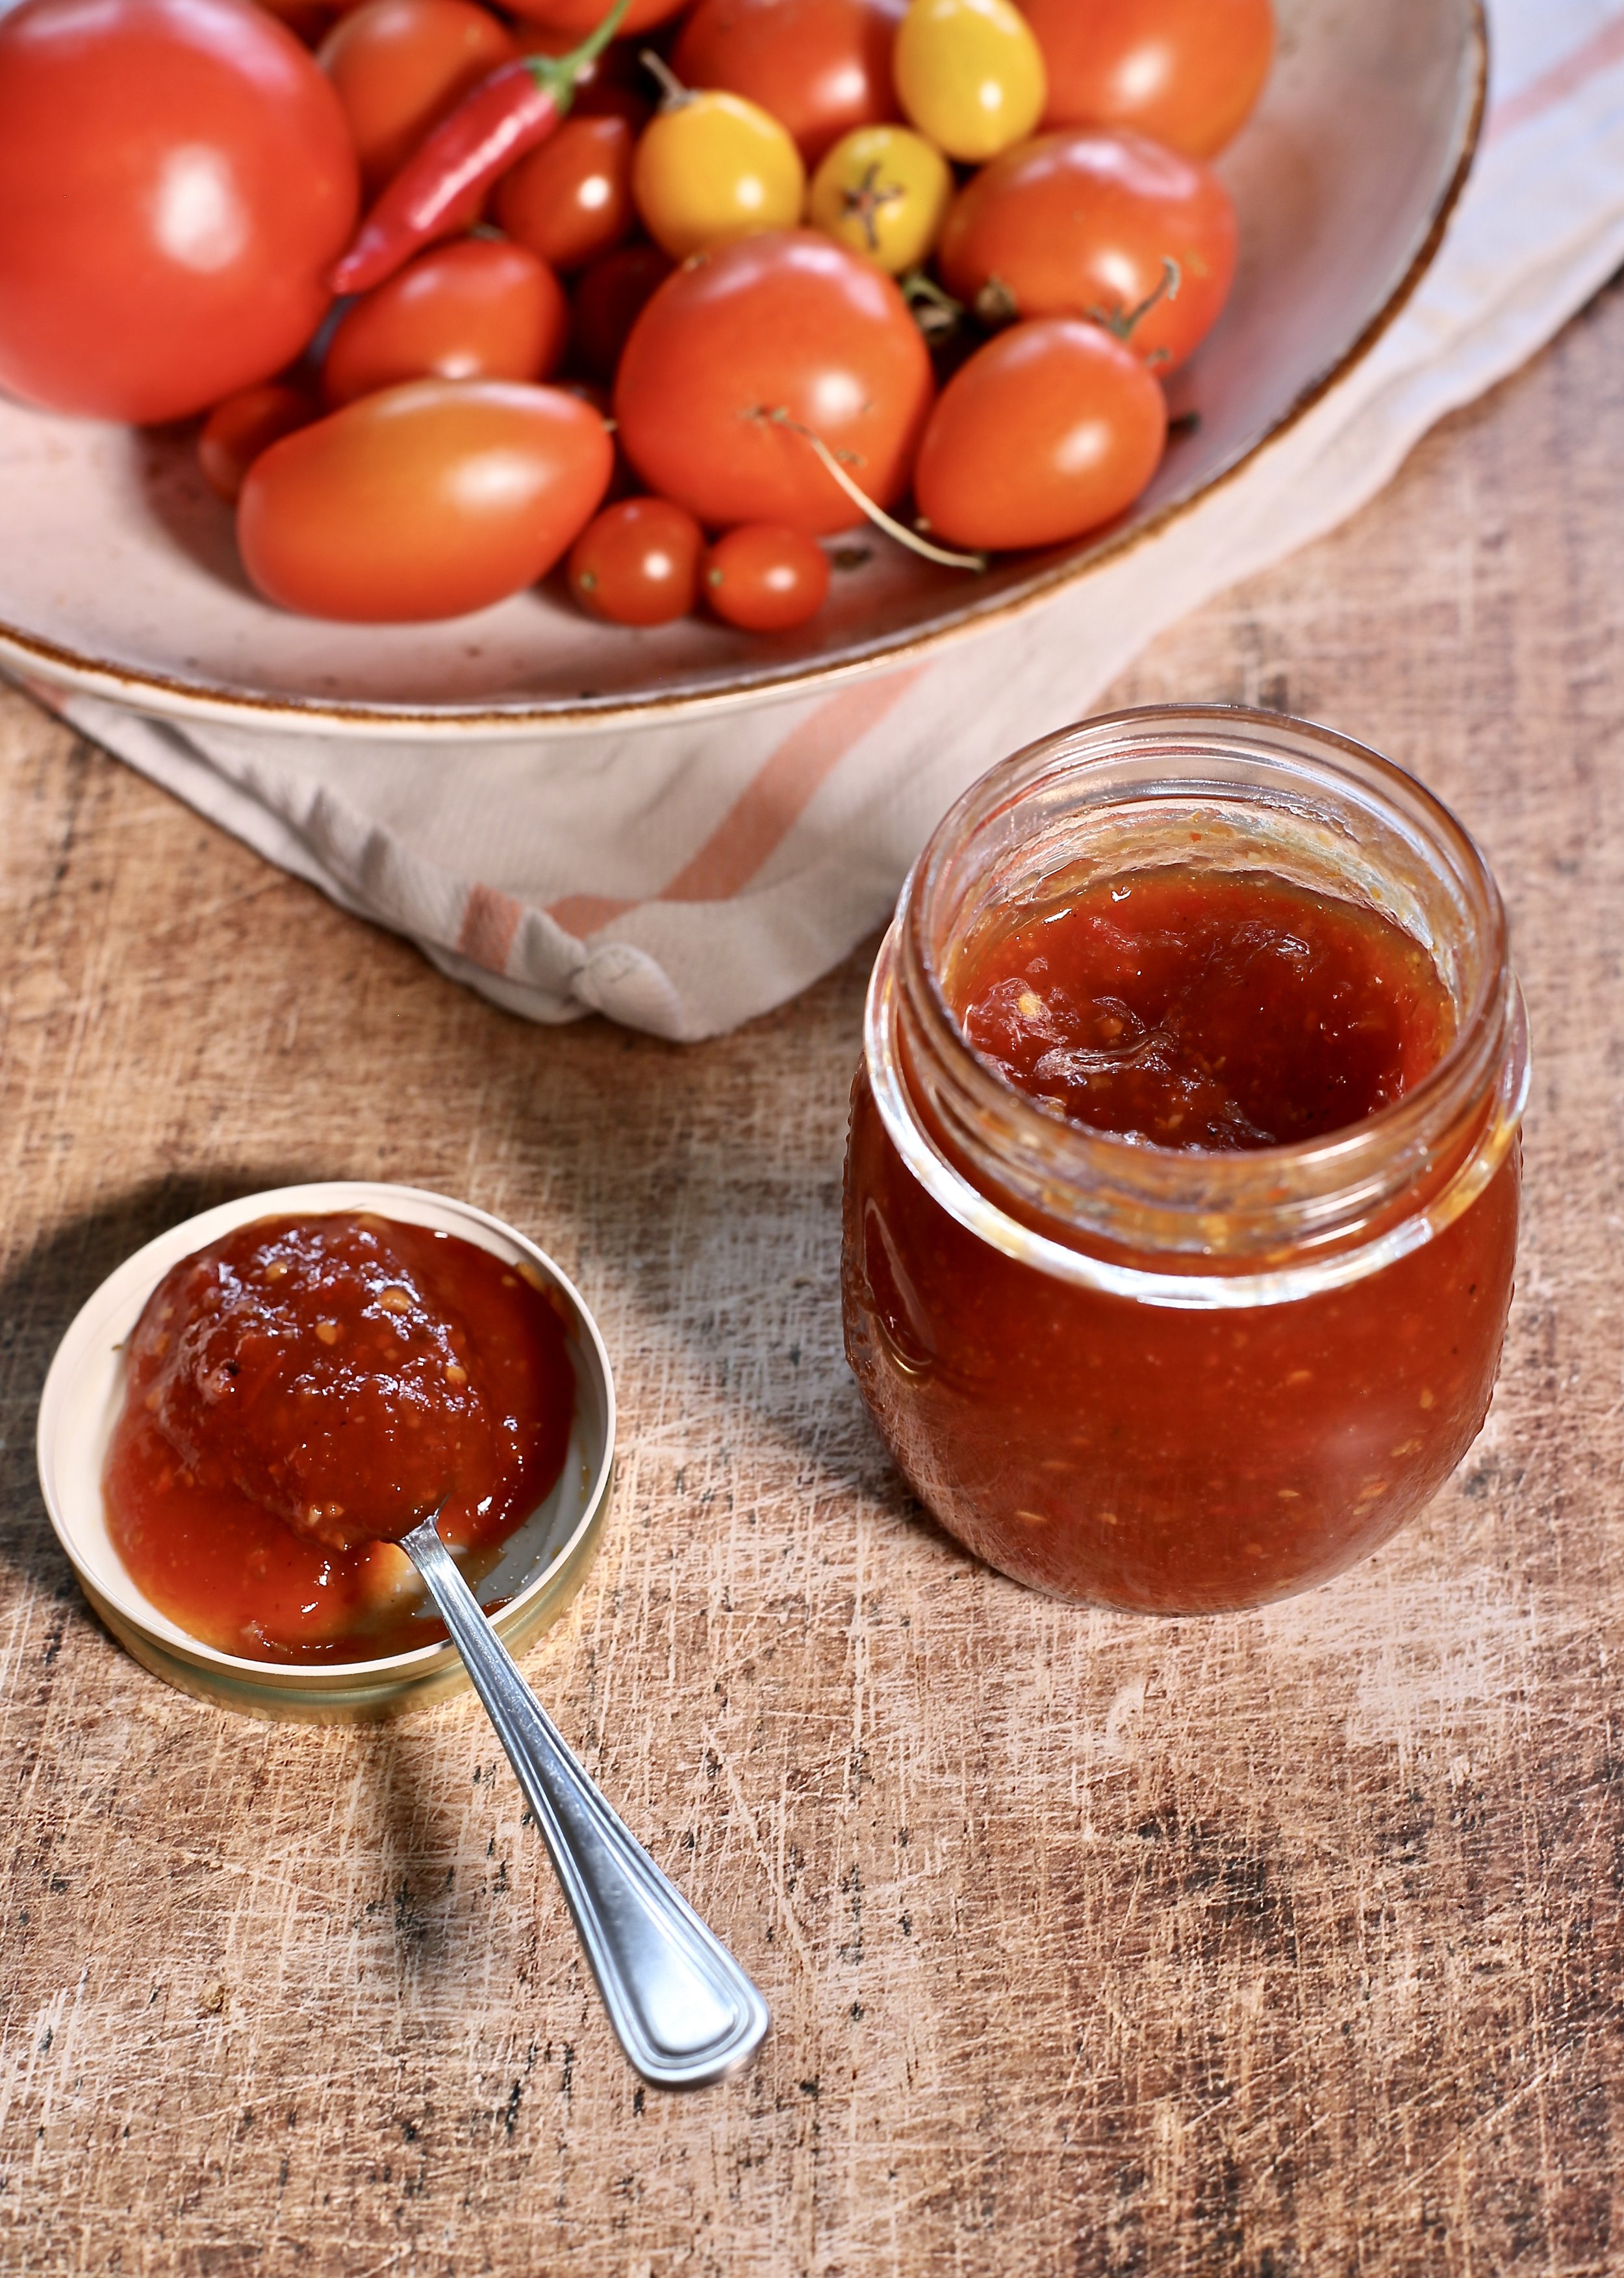
The final product is one of deep colour with a rich, pulpy texture and full of exotic aromas. And as i have mentioned above it will lend itself to many desserts and it will even enhance some gamy sauces.
http://qrcode.kaywa.com/img.php?s=8&d=http%3A%2F%2FAlisonmarketchef.blogspot.com
Alison Lambert