AQUAFABA MACARONS
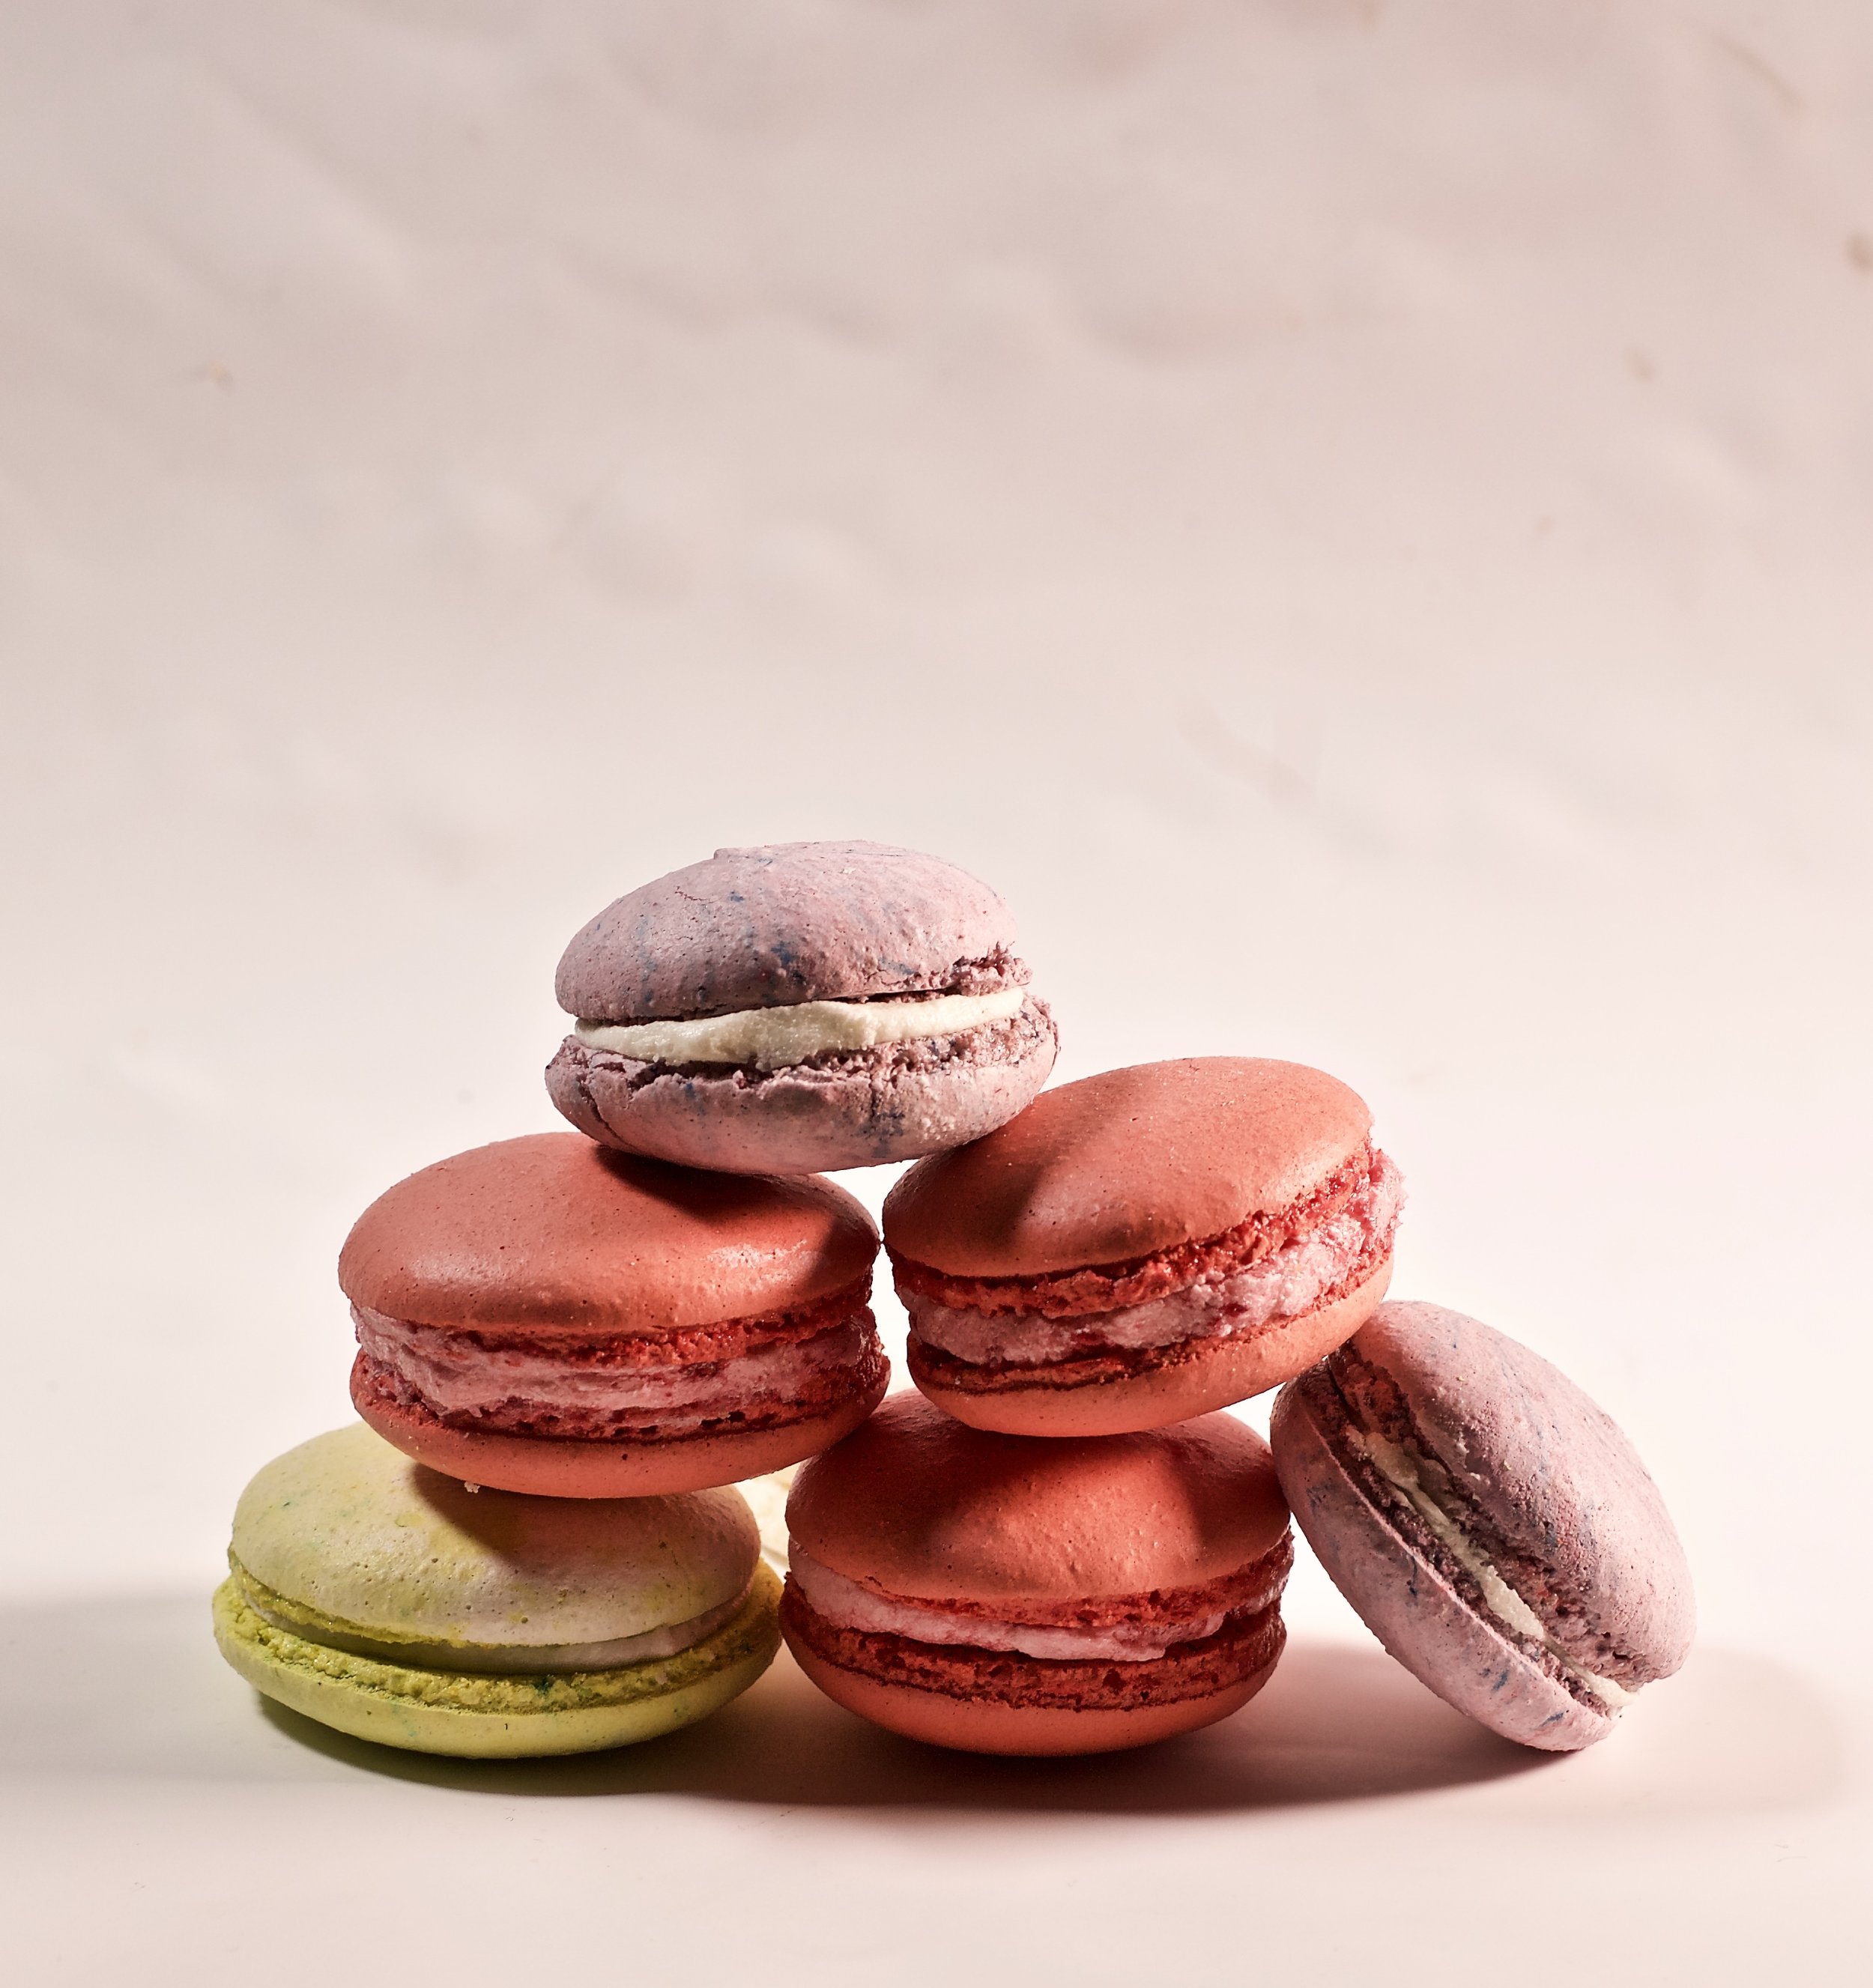
Well this was a revelation as I had never tried to make macarons egg free before, actually i didn’t even realise it was possiblity? I simply used the aquafaba from a tin of chickpeas, to substitute the egg whites and the rest of the process was the same. They turned out incredible and it was a delight to be able to share them to friends and family who would normally not be able to eat them for dietary reasons.
Preparation time - 30 minutes
Cooking time - 18 minutes
Skill - difficult
Makes 20 shells
Ingredients
250g aquafaba
¼ tsp cream of tartar
100g caster sugar
100g icing sugar
100g ground almonds
Colourings
Icing
80g dairy free spread
200g icing sugar
½ tsp vanilla essence
plant based milk
Method
Begin by reducing the aquafaba until you reach 125g of liquid. You need to be very precise with measurements. Once you have the correct weight, cool the aquafaba in the refrigerator until completely cold.
Preheat the oven 150C/130C fan
Whisk the aquafaba
Weigh out 100g of your reduced aquafaba and place it in a scrupulously clean bowl of your electric mixer along with the cream of tartar. whisk on high speed until the mixture becomes thick and goes pale in colour.
With the mixer still going, start adding your caster sugar a little at a time. Keep whisking until the mixture becomes white and glossy and forms stiff peaks, just as you would for meringues This takes a bit longer than it would with egg whites, keep whisking!
In a separate bowl, sieve the icing sugar and ground almonds, pushing any lumps through.
Fold half of the dry ingredients into the meringue mixture.
Add the remaining dry ingredients and fold through, do not over mix or the mixture can become a little runny.
If you are colouring the mixture, divide the base into small bowls and add the colouring, mix through gently.
Line 2 baking trays with baking paper or a silicon mat.
Place the mixture into a piping bag, using a plain medium sized nozzle.. If using different colours you will need to repeat this process with each colour.
Pipe 3cm rounds allowing a little space between each one (If you find this difficult i use a milk bottle lid and trace the circles onto the paper).
Slam the tray(s) on a work surface to get rid of any air bubbles, then let them sit at room temperature for 20-30 minutes, or until you can touch them without getting any mixture on your fingers.
Bake 1 tray at a time, it took 18 minutes for me to cook them at home but ovens can vary. To test if cooked, gently touch the top of a macaron and if it feels a little wobbly continue cooking.
Remove and cool.
When cool, carefully remove off the paper and match them up so they are the same size.
To make the filling, whisk the dairy free spread until creamy, add the icing sugar and continue beating until light, creamy and lump free.
You can add flavourings to the icing which can be nice to add a more individual note to the different colours.
Pipe the icing onto one of the macarons and gently sandwich on the top. Continue until all the macarons are complete.
Store the macarons in an airtight container in the fridge for up to 3-4 days.
Macarons can be frozen for up to 2 months.